How can I sign up for Carnival Internet?
Updated on 25 Mar, 2024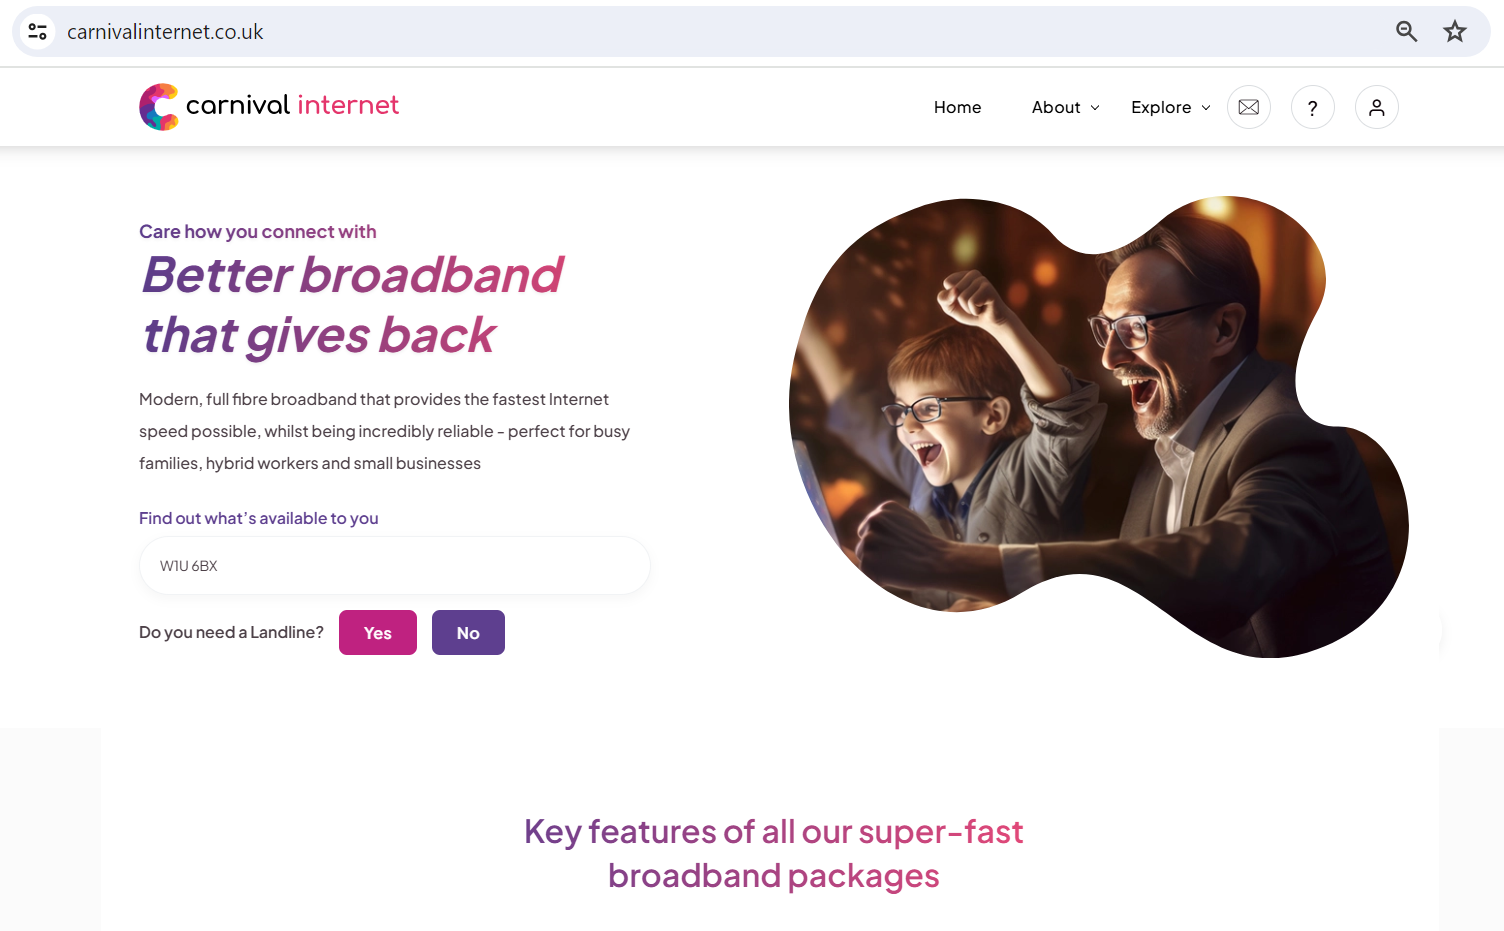
To simply sign up for Carnival Internet, follow the steps below:
1. Enter Postcode: Input your postcode to check service availability. Ensure that you verify whether a landline connection is required. If Yes is selected, the following page will appear.
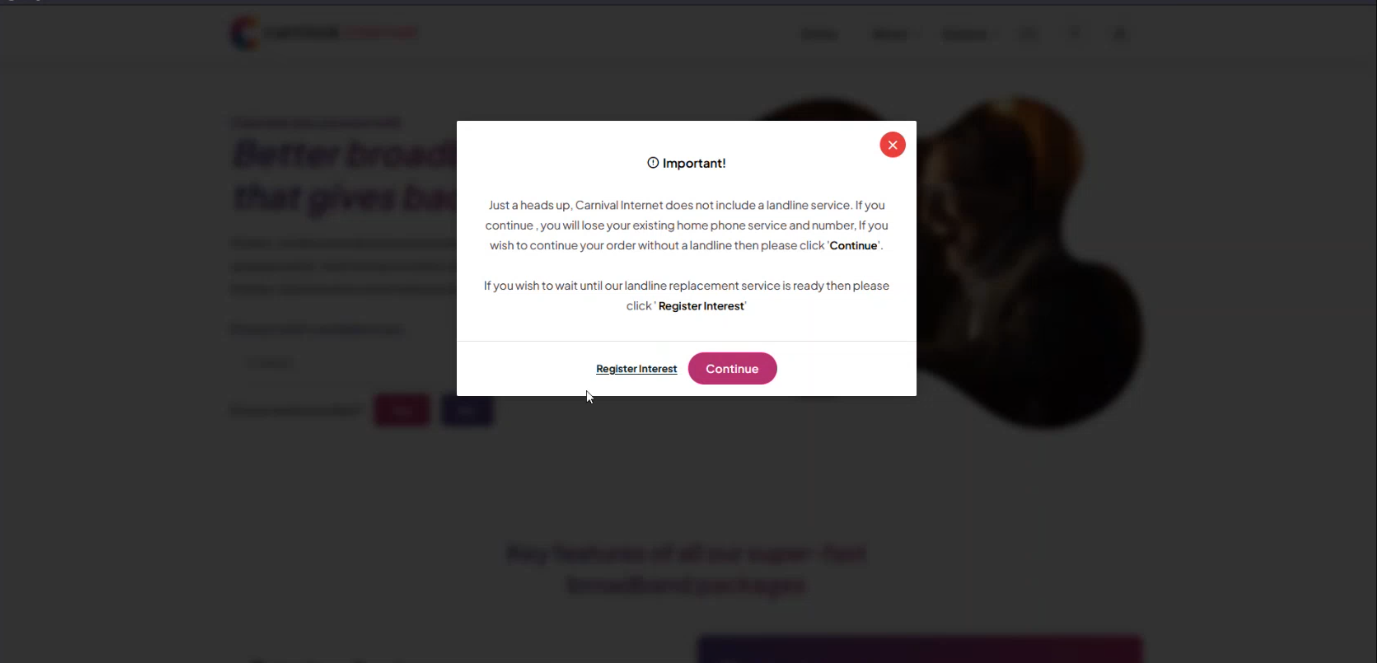
2. Verify Landline Connection Requirement: Currently, Carnival Internet does not offer landline services. As a result, proceeding with an order may lead to the discontinuation of your existing home phone service and associated number. Consequently, a pop-up is displayed, presenting the following options:
- Continue: Place an order without a landline.
- Register Interest: Place an order and express interest in our landline service, which will become available at your location in the future.
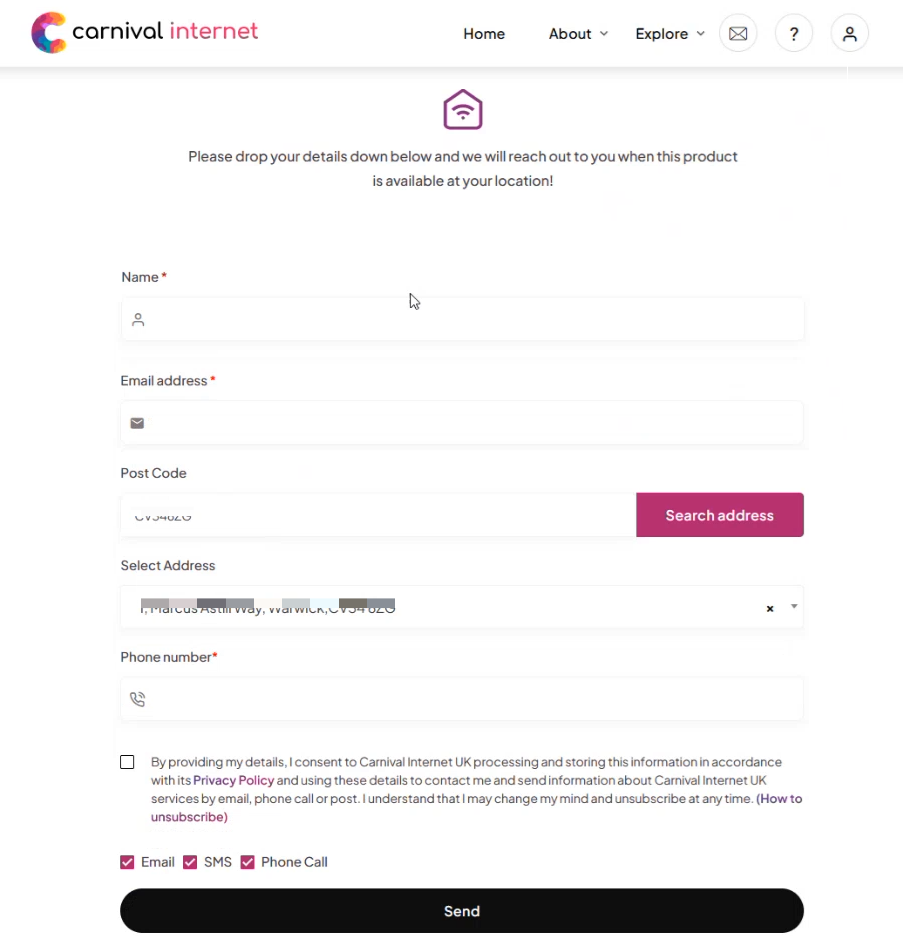
3. For option Register Interest:
i) Click Register Interest.
ii) Complete the form by providing the following details:
(a) Full Name
(b) Email Address
(c) Postal Code
(d) Address (automatically populated based on the provided postal code)
(e) Phone Number
iii) Optionally, indicate your preferred channels for receiving marketing notifications (e.g., SMS, Email, or Phone) by selecting the corresponding checkboxes.
iv) Click Send to submit the form.
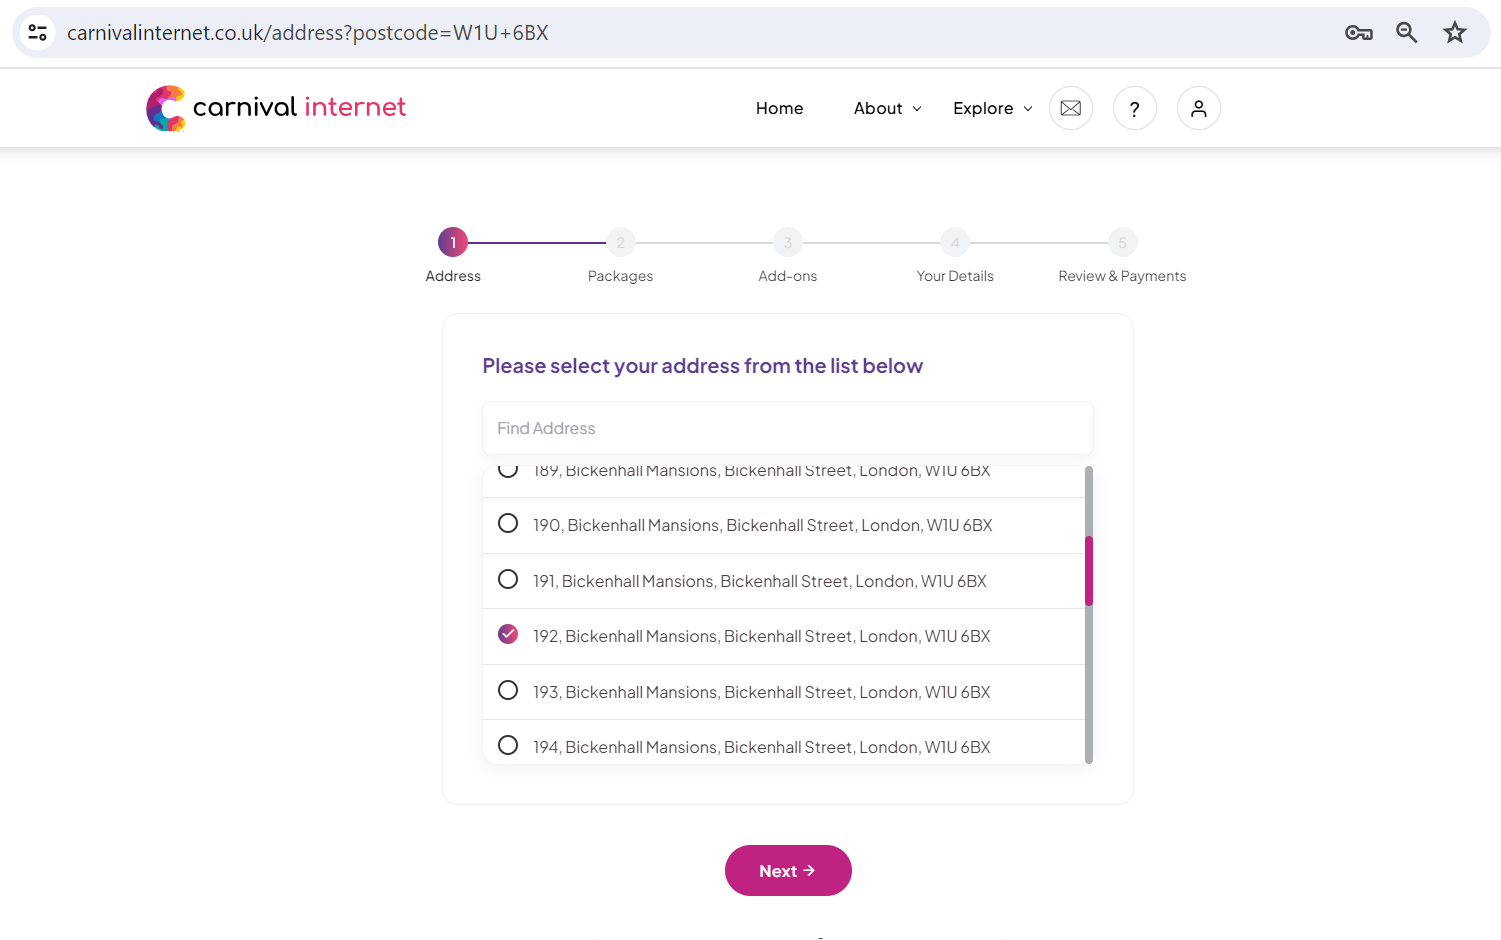
4. Select Address: If No is selected at step 2 or Continue at step 3, you will arrive at this step. Choose your address from the list of available serviceable addresses
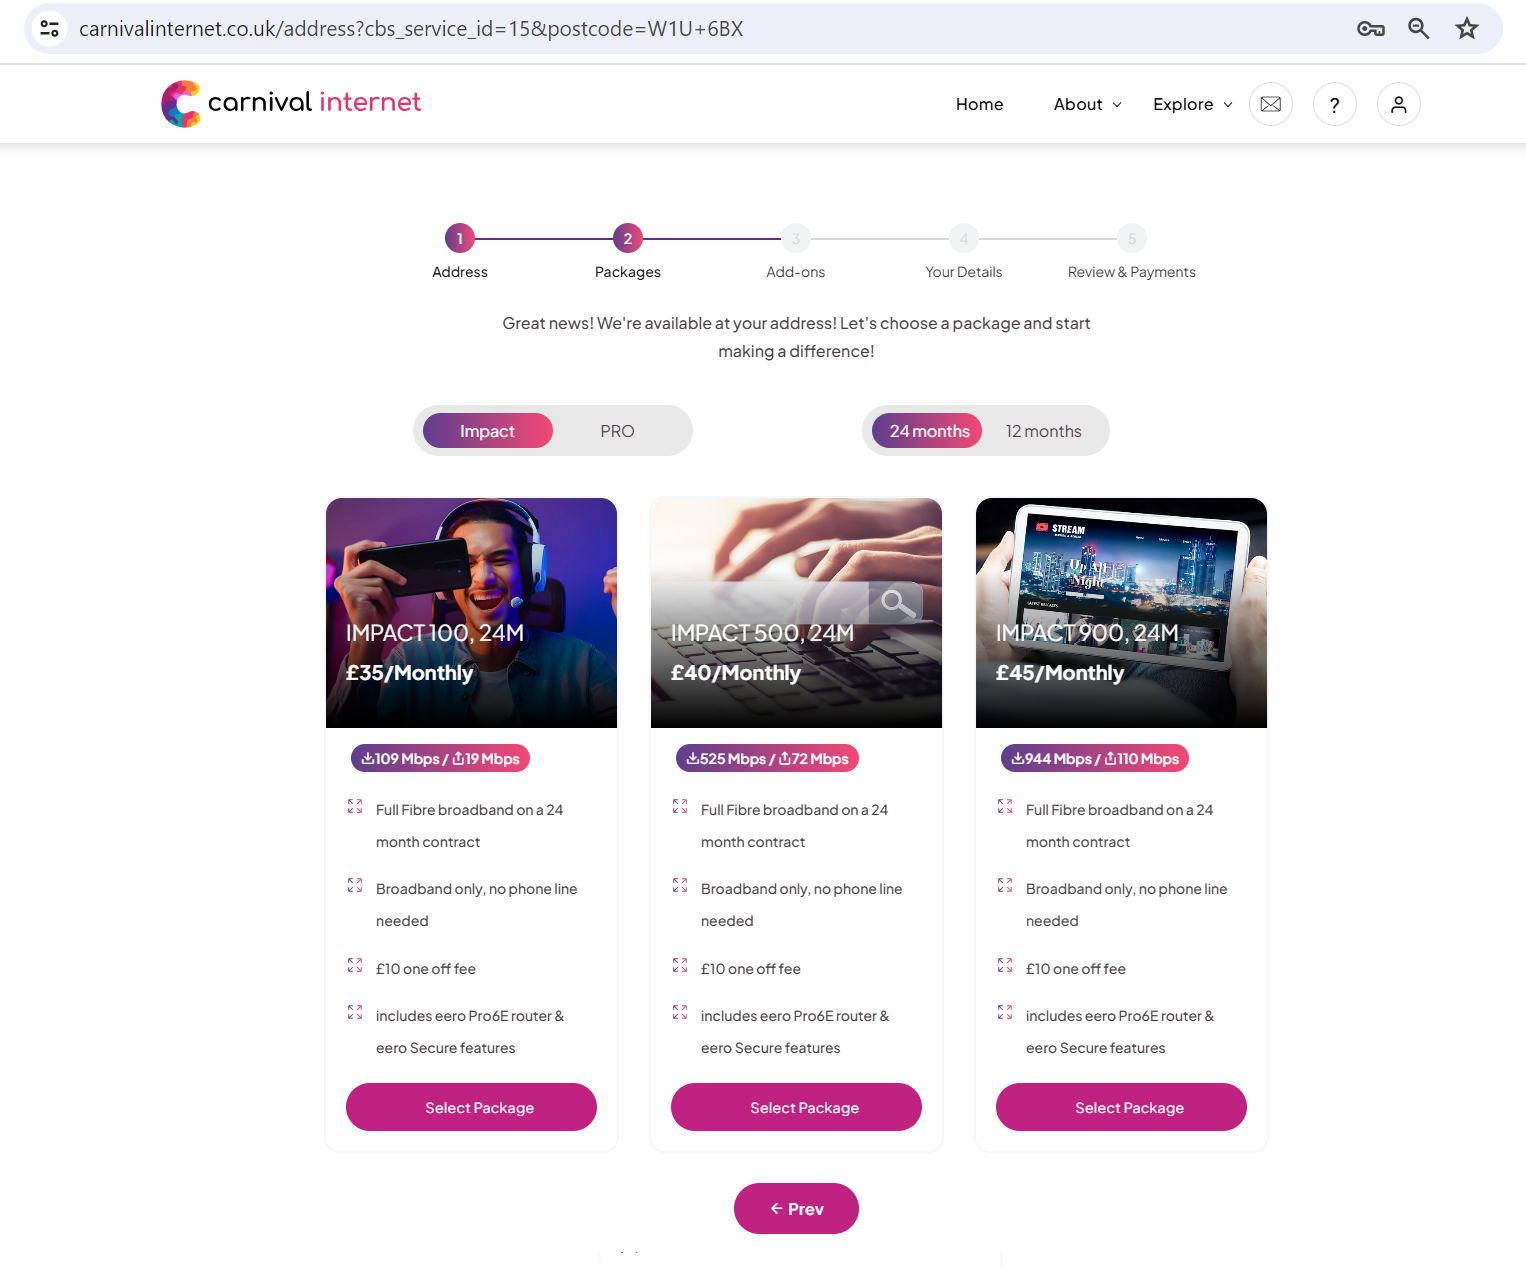
5. Select Package: Pick a package from the list of available options.
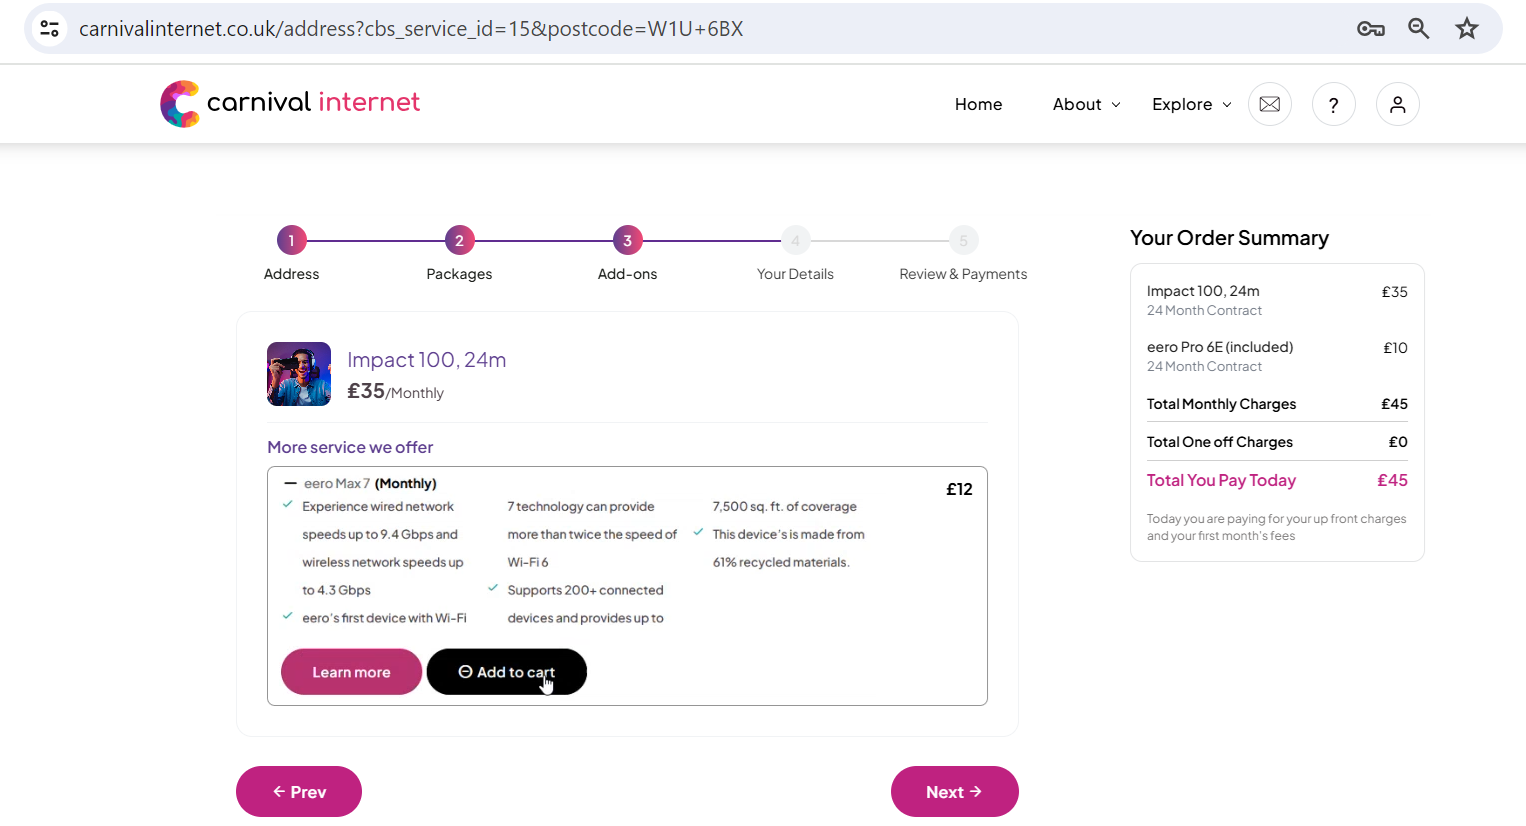
6. Select Add-ons: Choose any additional services or add-ons from the available options.

7. Verify Email Address: Enter your email address to ensure its uniqueness in the system. However, it's possible to get multiple connection under single email address.
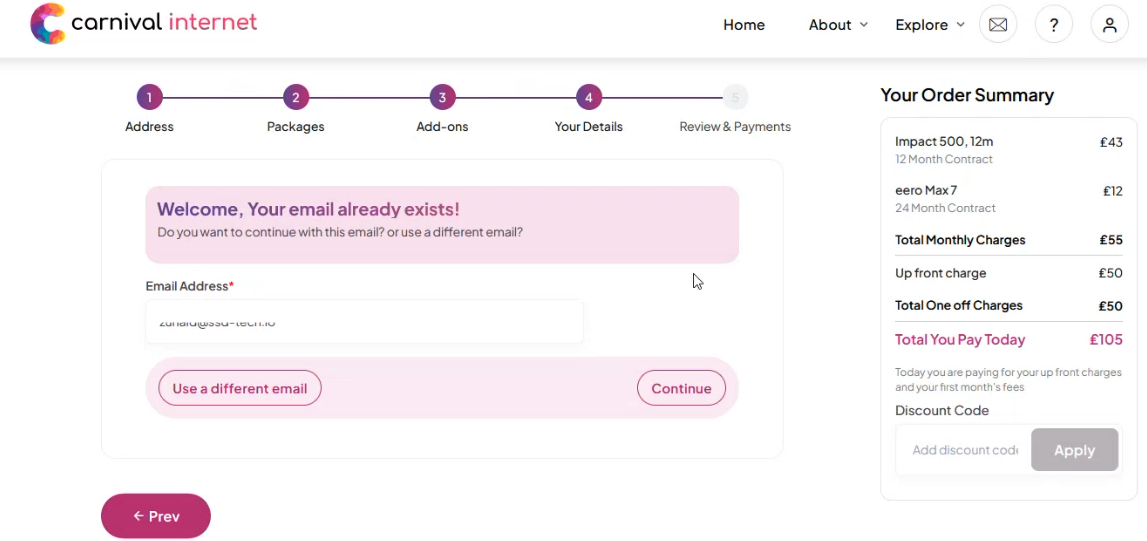
8. Existing Email Verification: If the email already exists in the system, proceed with the verification using your password. Discount Code option is also available here, if applicable.
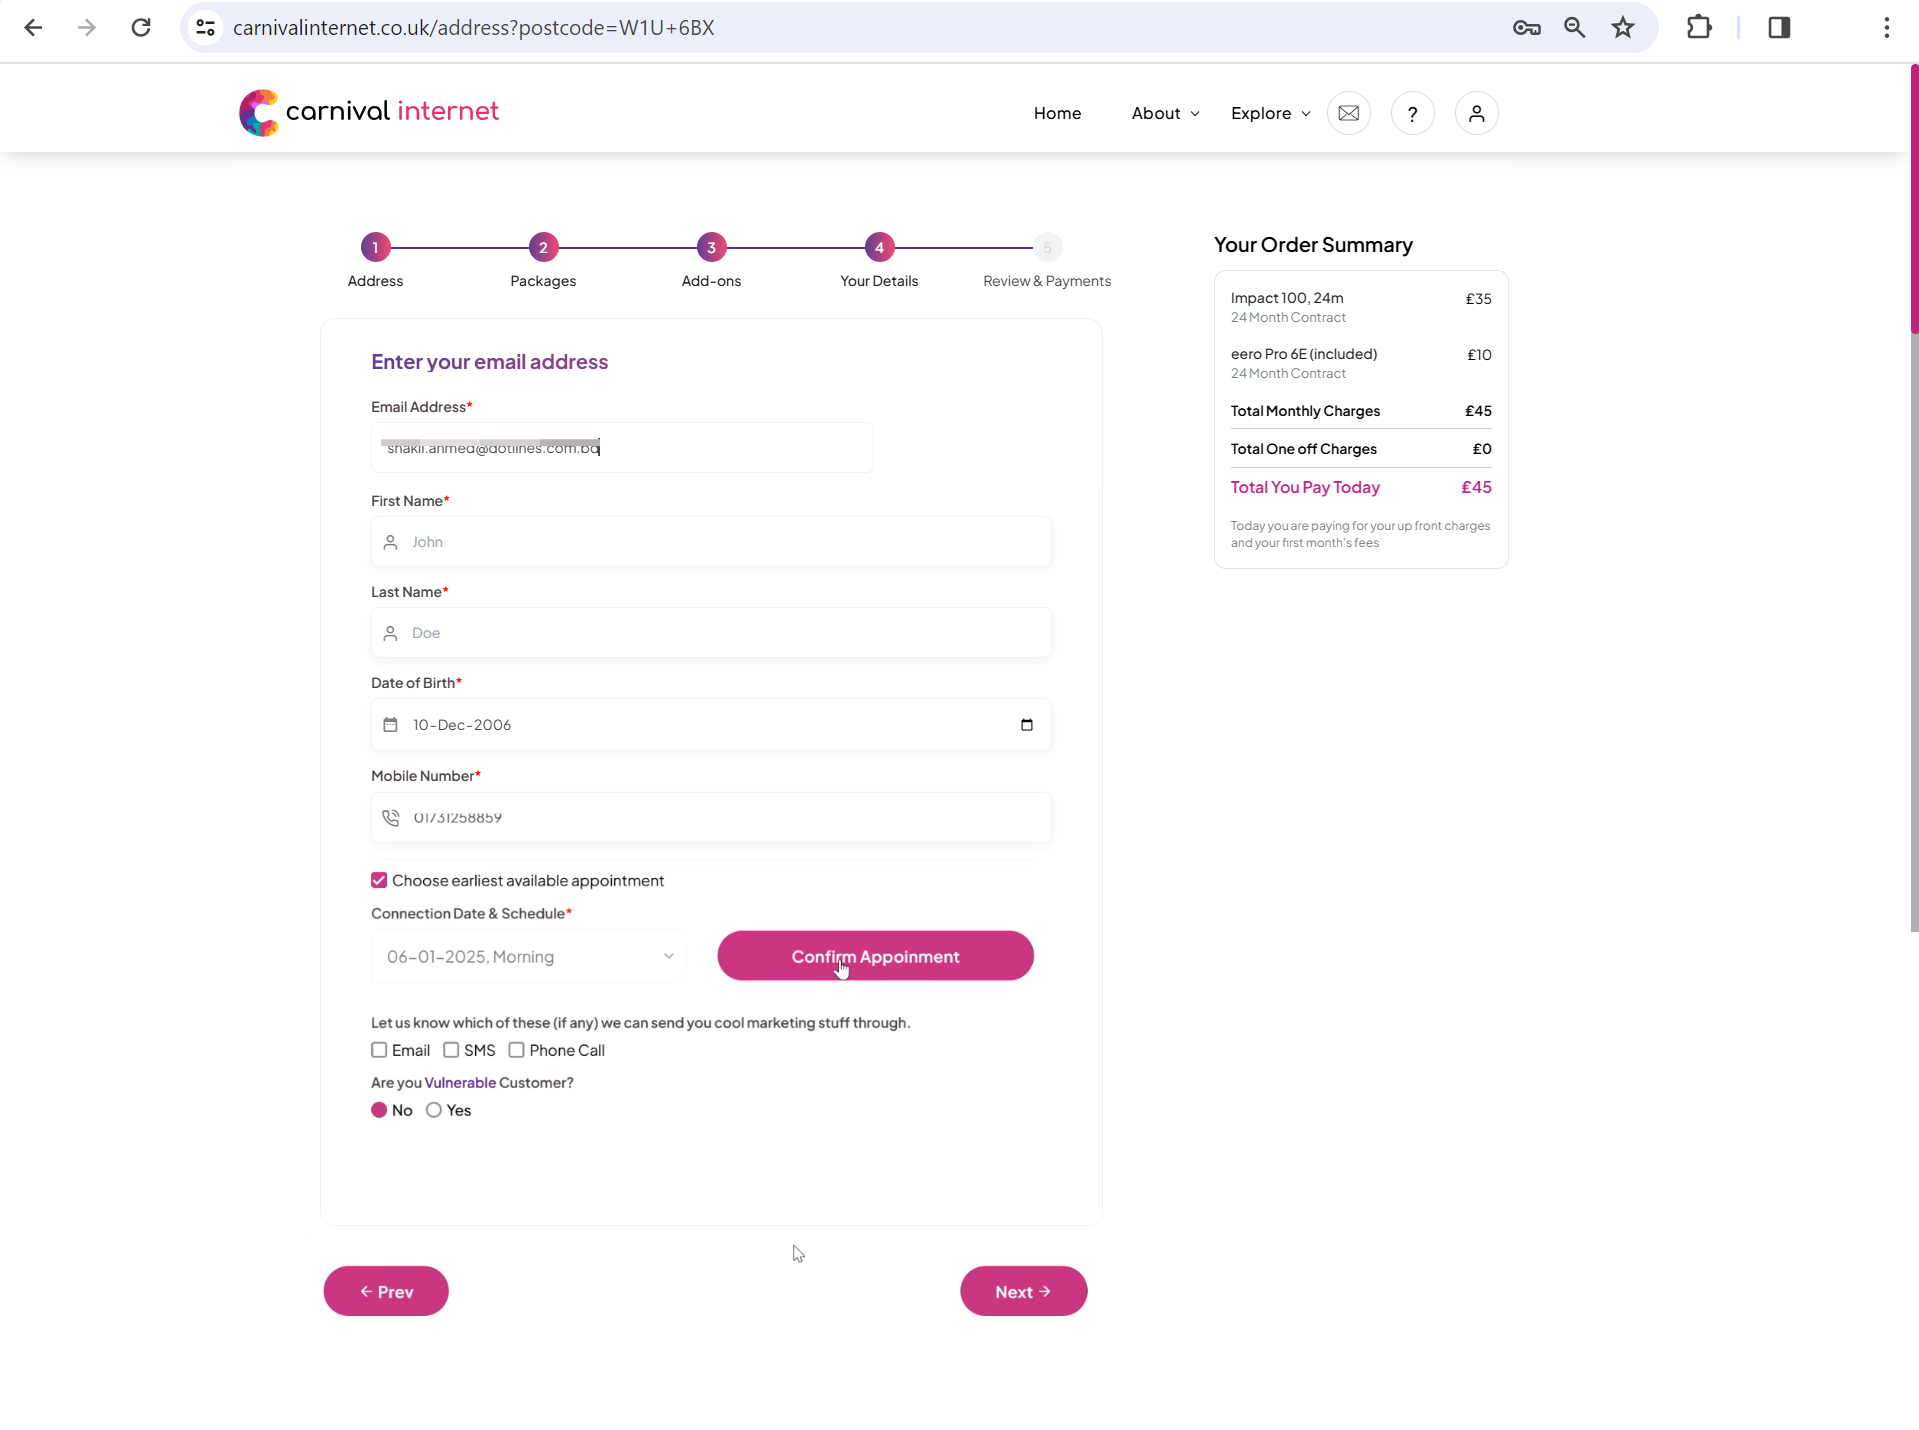
9. Provide Personal Details For New Email: Enter your first name, last name, date of birth, and mobile number. Select the earliest available appointment by checking the corresponding checkbox.
10. Confirm Appointment: Click the Confirm Appointment button to finalize the appointment booking.
11. Marketing Notification Preference: Optionally, select your preferred marketing notification channel(s) (e.g., SMS, Email, or Phone) by ticking the corresponding checkboxes.
12. Customer Status: Indicate if you are a vulnerable customer (i.e., have accessibility concerns) by selecting the appropriate option.
13. Proceed to Next Step: Click the Next button to continue.
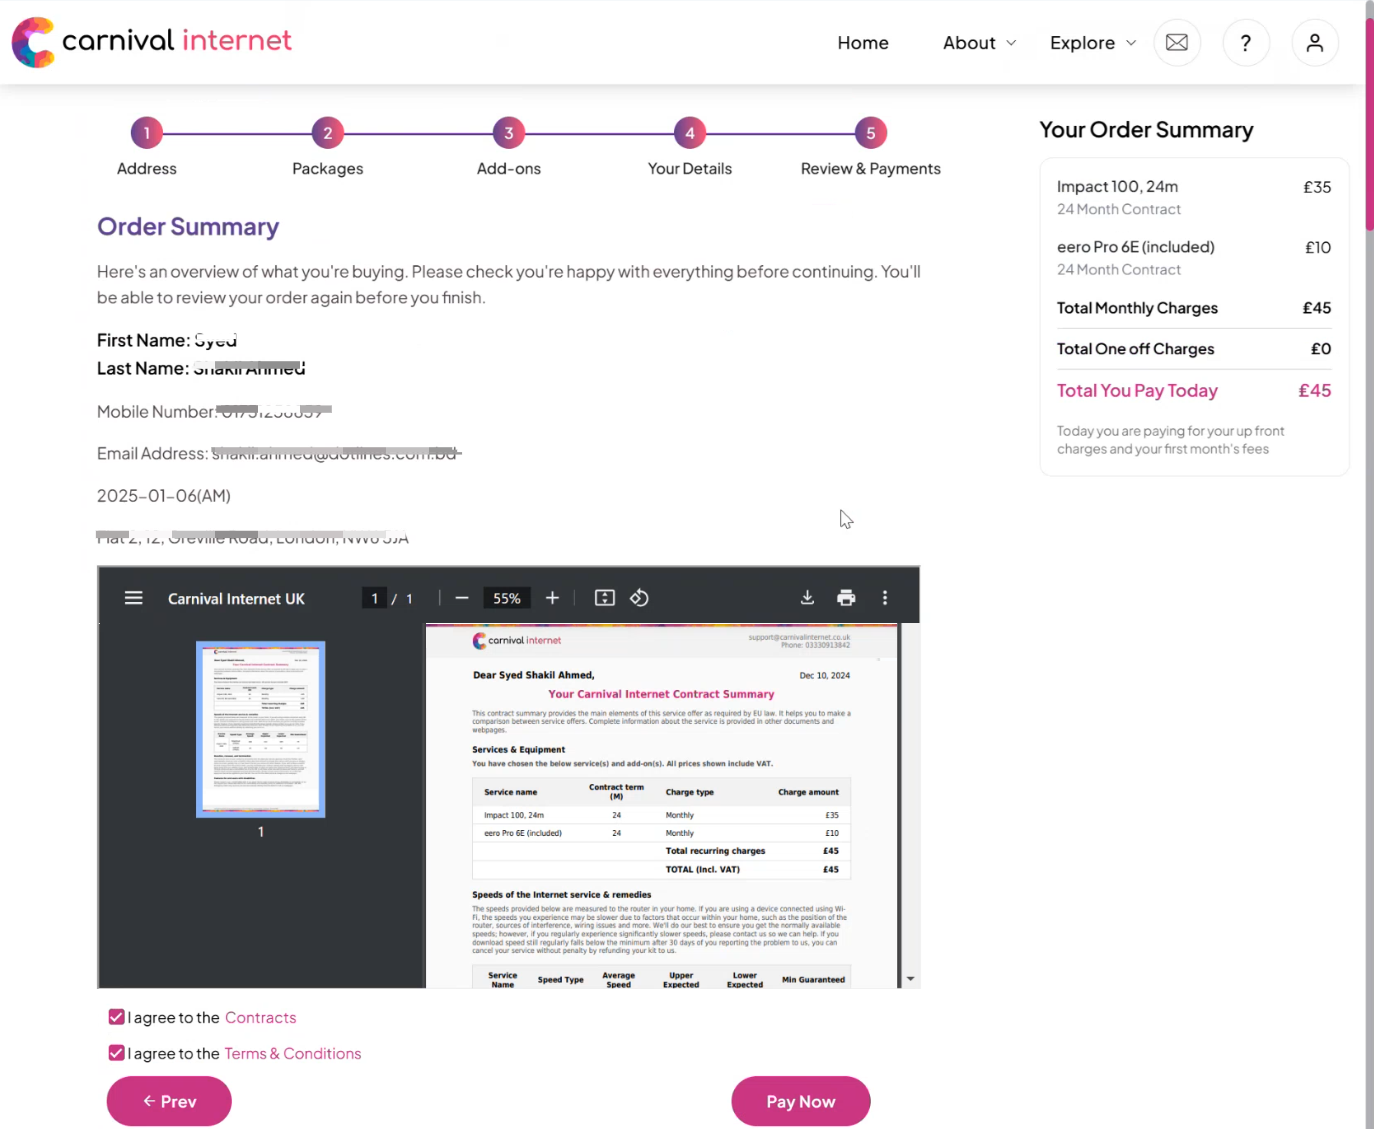
14. Review Order Summary: The order summary will be displayed for your review.
15. Accept Terms and Conditions: Read the contract, terms, and conditions thoroughly. Tick the checkbox to confirm your acceptance.
16. Initiate Payment: Click the "Pay Now" button to proceed to the payment process.
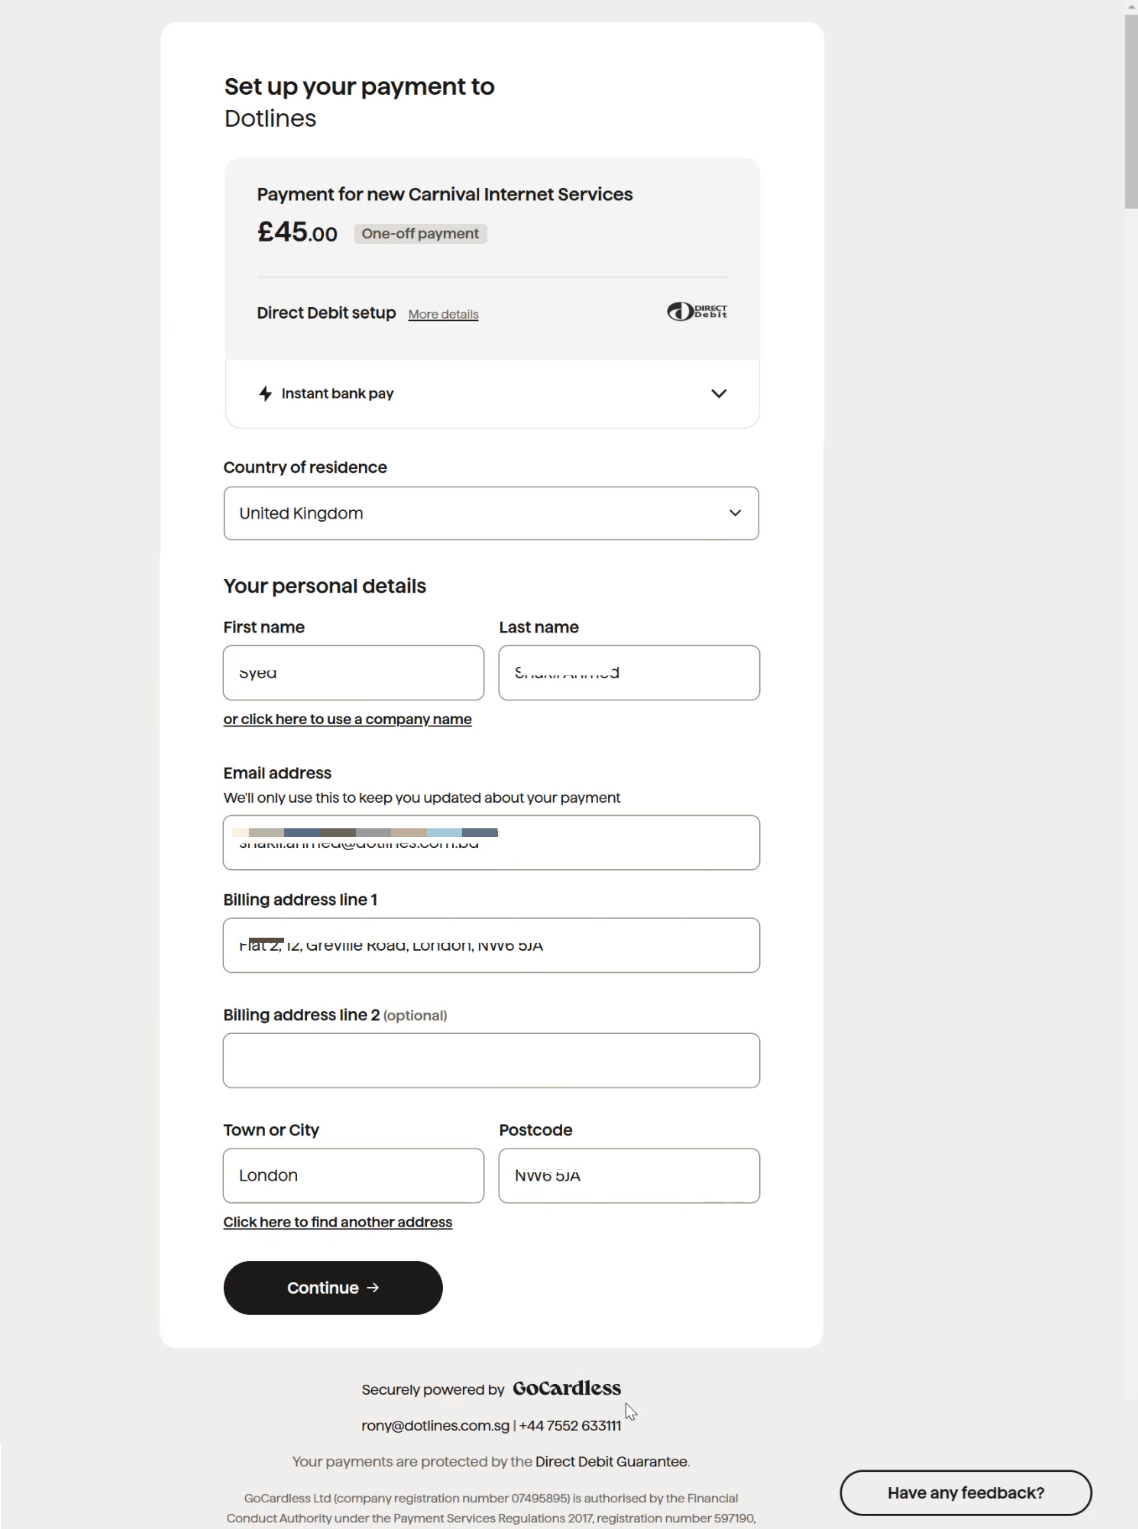
17. Redirect to GoCardless: The interface will redirect you to the GoCardless payment platform.
18. Enter Payment Details: Provide your personal details, including first name, last name, email address, billing address, town/city, and postcode.
19. Continue: Click the "Continue" button to proceed.
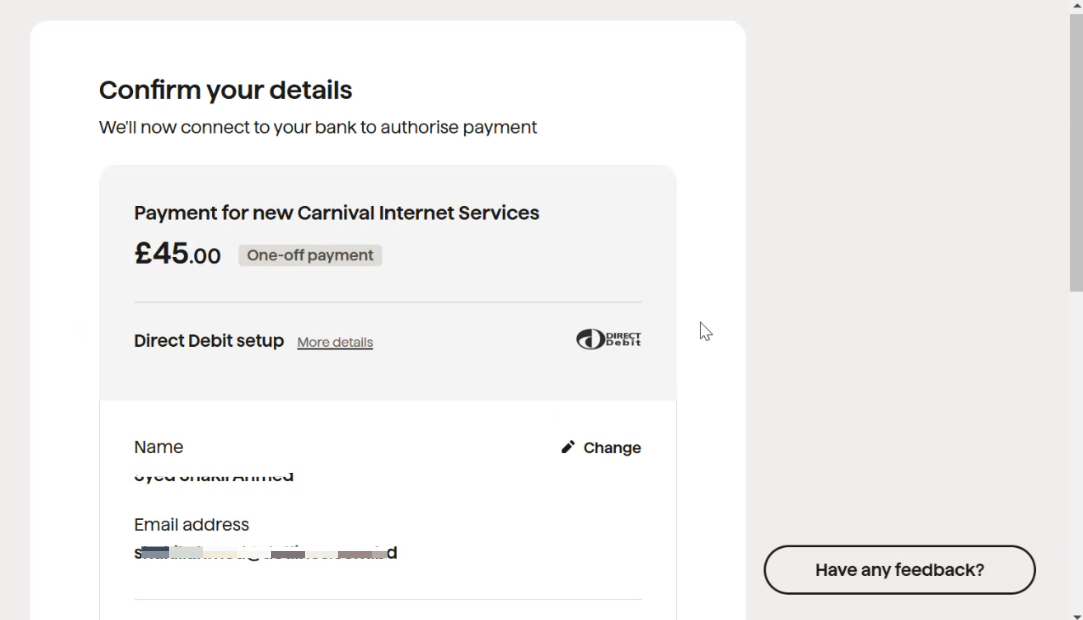
20. Confirm Details: Review and confirm the provided details.
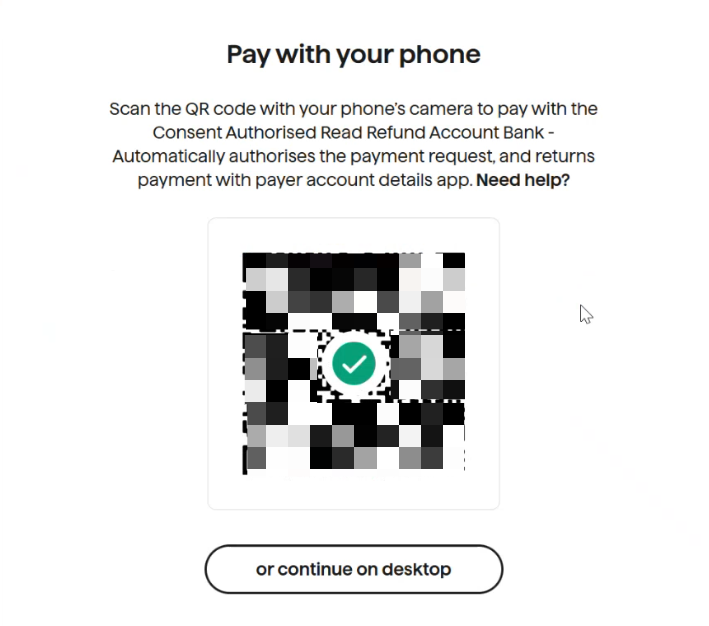
21. QR Code Payment: Scan the QR code to authorize the payment with your consent.
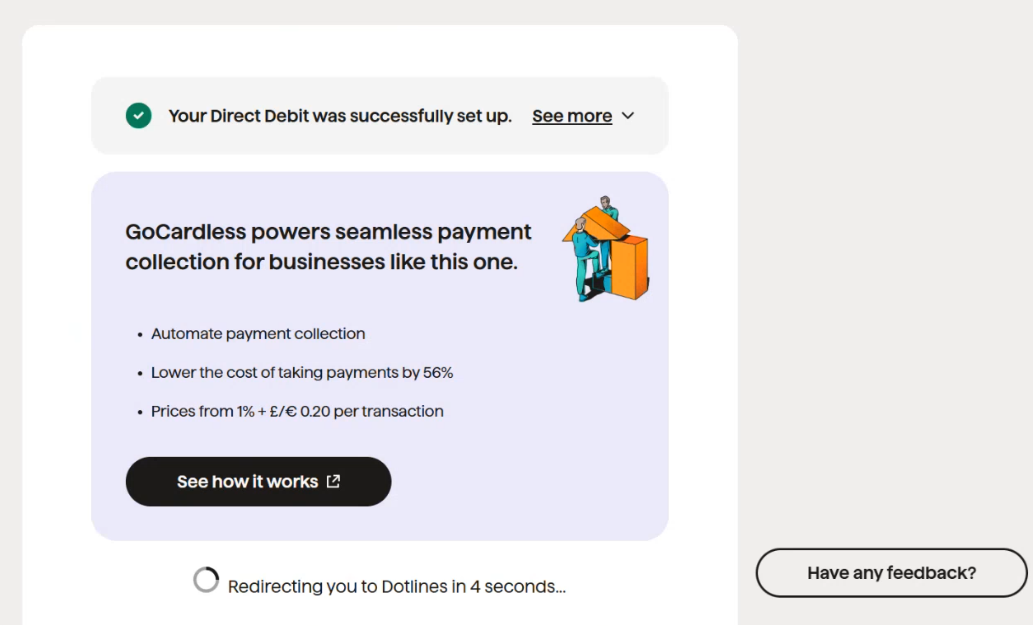
22. Direct Debit Setup: If a new direct debit is created, a message confirming the successful setup of the direct debit will be displayed.
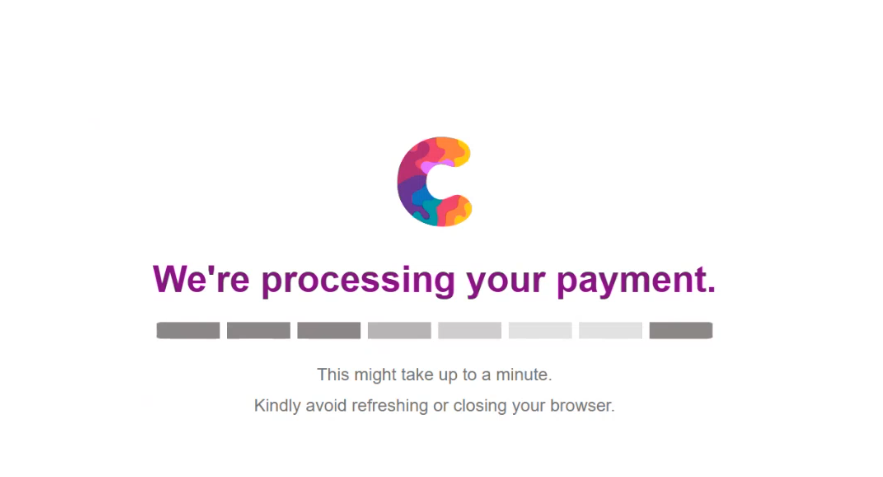
23. Payment Processing: The system will process the direct debit payment.
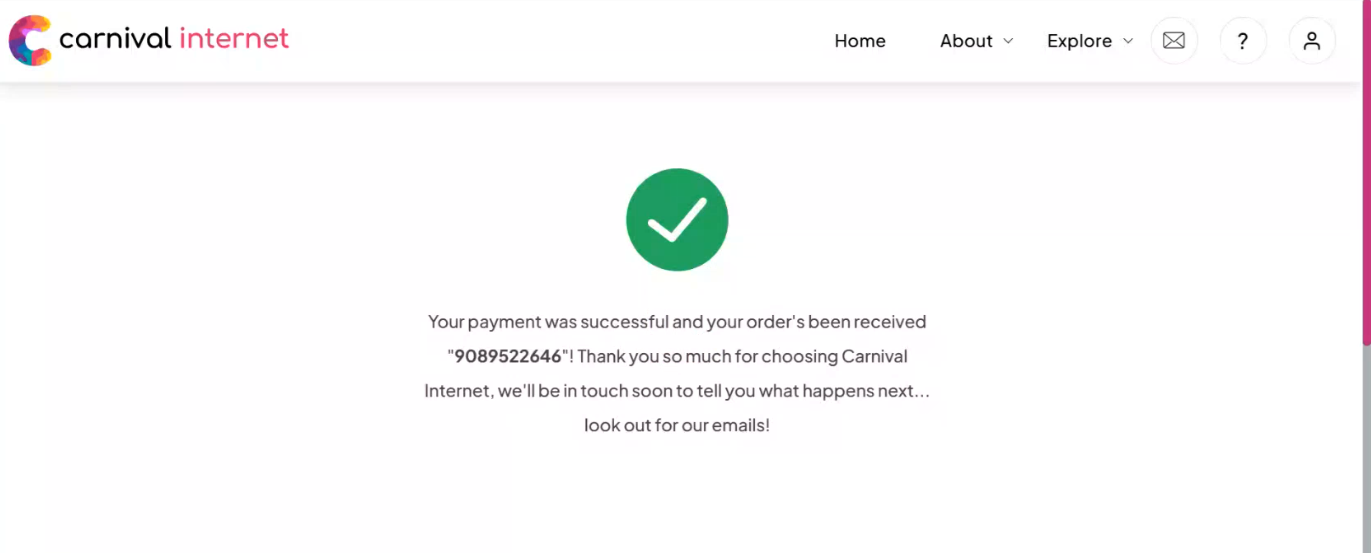
24. Payment Confirmation: Once the payment is successfully processed, a confirmation message will be displayed.
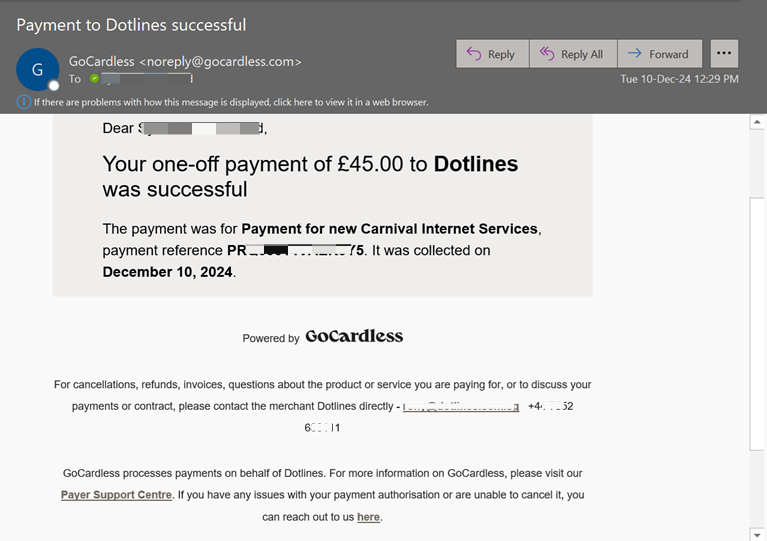
25. KCI from GoCardless Payment Service: As part of the Keeping Customers Informed (KCI) process, you will receive an email notification regarding the payment.
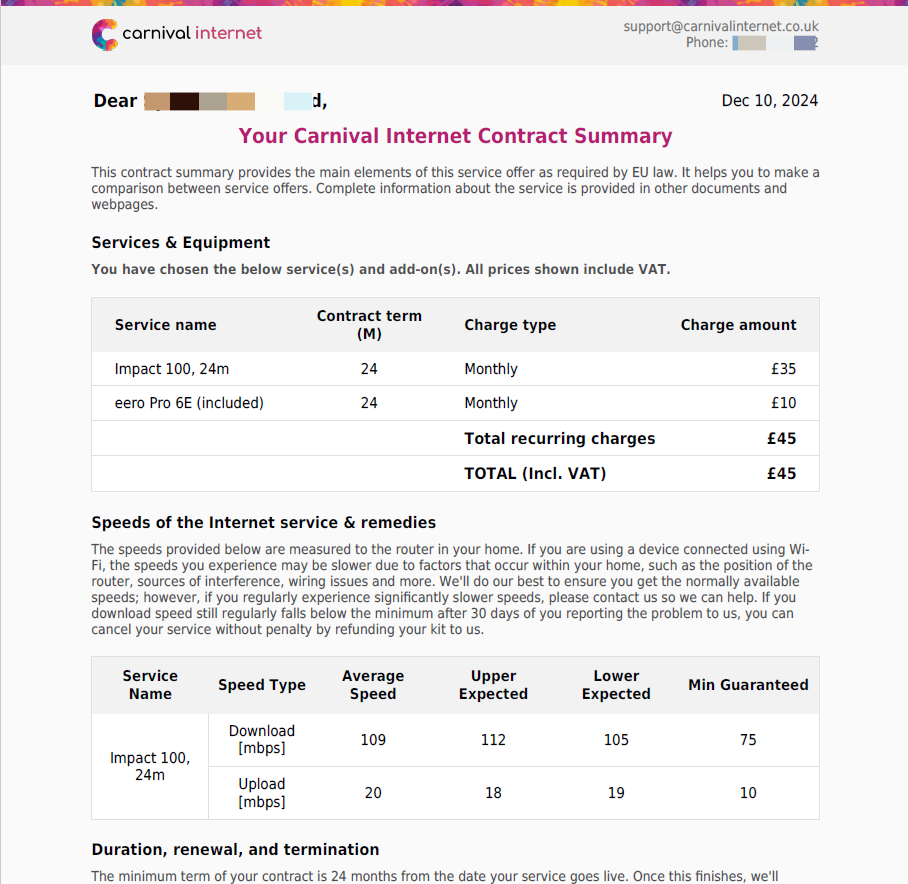
26. KCI from Carnival Internet: Simultaneously, a contract summary in PDF format and self-care credentials will be sent to you, along with an email notifying Carnival Internet of your onboarding.
Did this article help?